Table of Contents
Installing Visual Portfolio is a straightforward process. Follow these steps to get started with creating stunning portfolio galleries on your WordPress site.
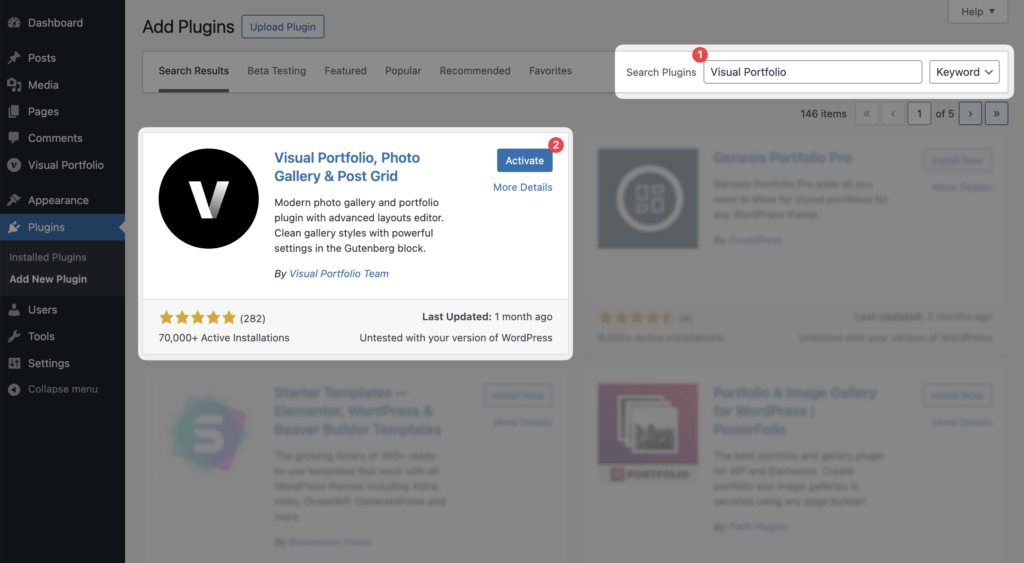
Method 1: Install via WordPress Plugin Directory
- Go to Admin Menu → Plugins → Add New.
- Enter “Visual Portfolio” in the search field.
- Look for the Visual Portfolio plugin in the list of available plugins.
- Click on the Install Now button next to Visual Portfolio.
- After installation, click Activate.
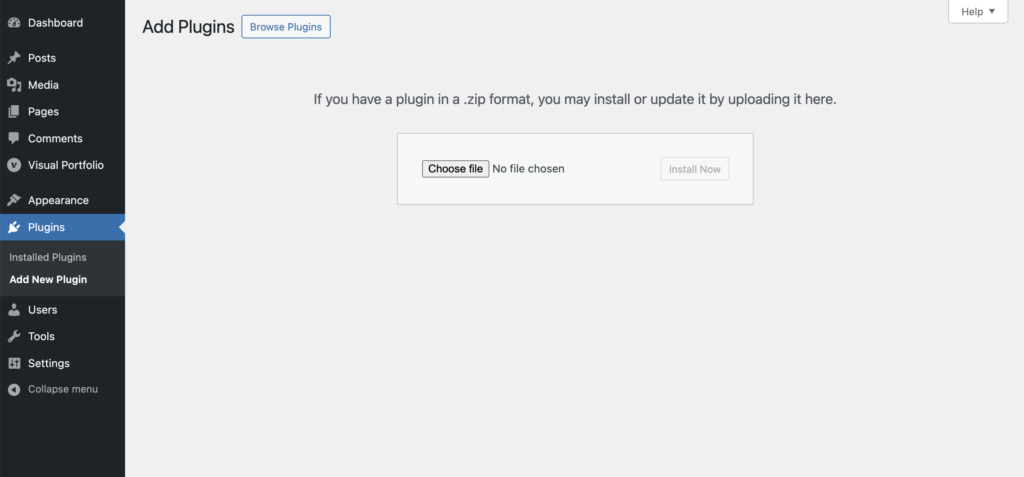
Method 2: Install via Downloaded File
- Download the plugin here: https://wordpress.org/plugins/visual-portfolio/
- Go to Admin Menu → Plugins → Add New.
- Click on the Upload Plugin button at the top of the page.
- Select the downloaded file, and click on the Install Now button.
Activate the plugin
After the plugin is installed:
- Click on the Activate button immediately after installation.
- Alternatively, navigate to Admin Menu → Plugins and click on the Activate button next to Visual Portfolio plugin.

Verifying Installation
To ensure Visual Portfolio is correctly installed and activated:
- Check your WordPress admin menu for a new item labeled “Visual Portfolio”.
- Go to Admin Menu → Visual Portfolio → Settings to access the plugin’s configuration options.
Next Steps
Now that Visual Portfolio is installed and activated, you’re ready to start creating beautiful galleries:
- Create your first project by going to Visual Portfolio → Projects → Add New.
- Explore the Visual Portfolio block in the WordPress editor to add galleries to your pages.
- Check out our Quick Start guide for more detailed instructions on creating your first portfolio.